Quick Answer: If you’re trying to fix moisture in the basement before remodeling, start by finding the source (rainwater, groundwater, or indoor humidity), then stop the entry path (grading, gutters, cracks, window wells), and finally control the air (condensation + humidity). Keep basement relative humidity around 30%-50%, discharge roof water 4+ feet away, and avoid finishing until surfaces are dry and stable. Fixing moisture first prevents mold growth, musty odor, efflorescence, spalling, and wood rot in your new finishes. A systematic approach beats “paint-and-pray” every time.
Start Here-What “Basement Moisture” Usually Means
Basements get wet for three common reasons: rainwater is being dumped at the foundation, groundwater is rising (water table pressure), or warm air is condensing on cold concrete (basement condensation). Moisture enters and spreads through four mechanisms: liquid water flow, capillary suction, vapor diffusion, and air movement.
If you’re remodeling soon, treat moisture like a construction defect, not a comfort issue because moisture that hides behind drywall can trigger mildew, mold growth, and staining / blistering of wall coverings later.
Tip: Before you buy flooring or insulation, spend one weekend on diagnosis. It’s the cheapest “upgrade” you’ll make.
Fast Diagnosis Checklist (10 Minutes, No Tools)
You can identify the likely source by looking for the pattern:
- If you see standing water on the floor after rain → exterior drainage or liquid water flow is the culprit.
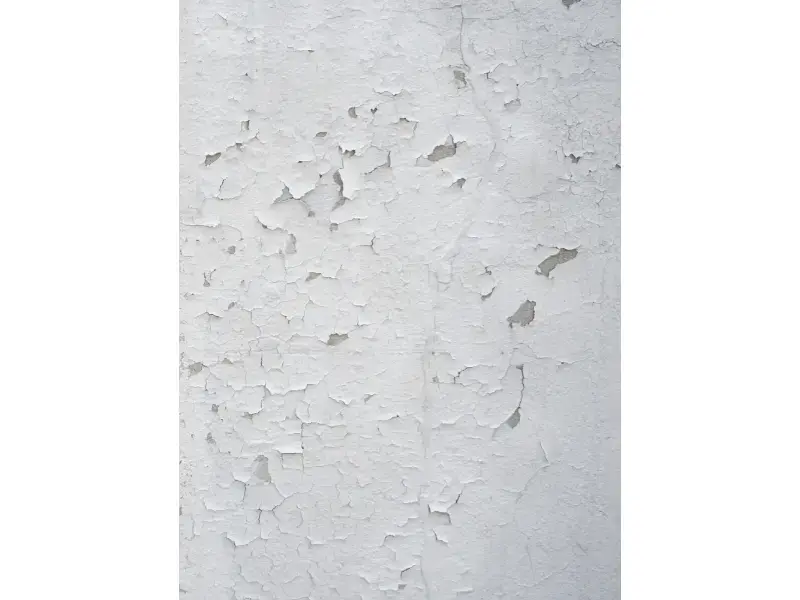
- If you see a chalky white crust (efflorescence) or flaking concrete (spalling (concrete/masonry)) → moisture is moving through materials via capillary suction or vapor diffusion.
- If you see droplets when it’s hot outside → warm, humid outside air is condensing (classic summertime issue).
- If the air feels sticky and smells musty → indoor humidity load is high (often unvented clothes dryers, bathrooms (showering), or cooking moisture).
This is where best basement finishing specialists can help later but first, you want to know whether you’re fighting water entry or water in the air.
Symptoms That Mean “Don’t Remodel Yet”
Moisture damage often shows up as secondary clues. Watch for:
Warning Signs
- Water trickling out of walls or wet spots at the base
- Damp / humid air and persistent musty basement smell
- Concrete block walls with a dark “ring” (often at cold joints)
- Rotting wood elements (wood rot (rot and decay)), especially near sill plates
- Deterioration around floor joists and other framing
- Visible foundation cracks (structural cracks) or signs of settling foundations
If you already have basement moisture problems, finishing over them can trap moisture and accelerate decay, especially once insulation and wall coverings reduce drying potential.
Match the Moisture Pattern to the Most Likely Cause
What You See | Most Likely Cause | Key Mechanism | First Fix to Try |
Puddles after storms | Poor grading / gutters dumping water | Liquid water flow | Fix grading + downspout discharge |
Damp band at wall base | Wicking through pores | Capillary suction | Improve drainage + seal entry points |
White powder / flaking | Moisture migrating through concrete | Vapor diffusion | Waterproofing + drainage strategy |
Wet surfaces in summer | Humid air condensing on cool walls | Condensation + air movement | Stop outside-air ventilation; dehumidify |
Quick Fix: If summer moisture spikes when windows are open, stop ventilating with outdoor air. That’s a strong sign you’re dealing with condensation, not leaks.
Fix #1-Control Roof Runoff (Gutters, Downspouts, Discharge)
A shocking amount of moisture comes from the roof. During a heavy storm, roof water concentrates at the foundation if gutters are missing or clogged. Defective systems dump water right where your basement is weakest.
What to do:
- Clean and repair gutters and downspouts (downspout extensions / splash blocks)
- Add downspout extensions so water discharges at least 4 feet away
- Avoid letting runoff pool near the wall especially near window wells
Tip: Walk the perimeter during rainfall if possible (safely). You’ll often see the problem.
Fix #2-Correct Surface Grading So Water Flows Away
Even a perfect gutter system can’t compensate for bad landscaping. If the soil slopes toward the house, water collects at the foundation and pushes inward.
Target slope: Aim for surface grading (slope away from foundation) at 1 inch per foot for at least 6 feet away from the foundation line.
This reduces hydrostatic pressure and helps prevent moisture from migrating through cracks or porous materials.
Fix #3-Window Wells: The “Basement Funnel” Most People Miss
Poorly built window wells can act like a drain right beside your wall.
Best practices:
- Keep window wells clear of debris
- Ensure the well drains properly (many need gravel and drainage tied into a system)
- Check for gaps between the well and wall
If your well holds water, it can soak the wall and lead to moisture in basement walls that looks like a “mystery leak.”
Fix #4-Seal Cracks, But Don’t Pretend Sealer Is a Drainage System
Cracks form in concrete from movement, curing, and soil shifts. Some are harmless; others allow active water entry—especially if the outside is constantly wet.
Crack repair is useful, but it works best after you’ve reduced exterior water loads. Otherwise, pressure can force water through new pathways.
Crack-Repair Priorities
- Identify whether cracks worsen after storms (water entry)
- Reduce exterior water against the wall (grading + gutters)
- Seal and reinforce as needed, especially near framing connections
- Check that framing attachments support stability around the perimeter
Ignoring structural connections can allow movement that worsens cracking around sill plates and where walls meet rigid sections.
Fix #5-Interior Drainage and Sump Strategy (When Water Table Wins)
If groundwater rises or the water table pushes water against the foundation, you may need a controlled path for water to go somewhere safe.
An interior drainage system / drain tile system + sump pump (sump pit, airtight cover) can collect water at the footing line and pump it out before it becomes standing water on the floor.
Important detail: Keep the sump sealed. An open pit can pull moist air into the basement due to stack effect and negative pressure in the basement, increasing humidity and odor.
Don’t Ignore Air Leakage-Stack Effect Pulls Moisture In
Basements often act like a suction chamber because warm air rises through the home, pulling replacement air from the lowest level. That airflow can draw moisture through gaps and porous assemblies.
Key concepts to know:
- Air movement (air leakage) can transport a lot of moisture fast
- Permeability of materials affects how easily vapor moves
- Vapor pressure differential drives moisture from wet ground to dryer indoor air
Seal obvious pathways (gaps, penetrations, rim areas) and cover open soil connections. This reduces moisture load and improves comfort.
Condensation vs. Leaks-How to Tell in Summer
Many homeowners think they have “wall leaks” when they’re really seeing condensation.
If warm outdoor air enters and touches cool concrete, water forms on the surface. This often shows up as:
- damp floors and walls in hot months
- “sweaty” masonry and cool corners
- musty smell without obvious leak marks
This is also where basement sweating and basement walls sweating get misdiagnosed as plumbing issues.
Quick Fix: Stop opening basement windows on humid days. Use controlled ventilation from HVAC or mechanical exchange instead.
How to Reduce Humidity Before Remodeling (Without Trapping Moisture)
To reduce humidity in the basement, you want both moisture control and safe drying especially before insulation and drywall go up.
Use a layered approach:
- Fix bulk water first (drainage, runoff, leaks)
- Then manage air moisture (ventilation strategy + dehumidification)
- Keep air circulating so surfaces can dry evenly
If you’re noticing moisture in the basement even in dry weather, it’s often an indoor humidity load problem, not an exterior water issue.
Do All Basements Need Dehumidifiers
Not every basement needs one, but many benefits especially if you have summer humidity, condensation risk, or limited airflow. A dehumidifier is best viewed as control, not a cure.
Use one when:
- humidity stays high despite good drainage
- you see odors or early microbial growth
- you’re preparing for finishing and need stable conditions
Caution: Dehumidification alone can increase inward moisture pull if the walls/floor are still wet, because drying the air increases the moisture gradient and can speed vapor diffusion from wet ground into the basement.
Remodeling “Go/No-Go” Moisture Thresholds
Area to Check | “No-Go” Sign | Why it Matters for Remodeling | What to do First |
Walls | Persistent dampness / salt deposits | Traps moisture behind drywall | Fix drainage + drying plan |
Floor | moisture on basement floor remains after 48 hrs dry weather | Can ruin LVP/carpet/adhesives | Test source; manage slab moisture |
Air | Musty smell + visible growth | Health + material decay | Control source; sanitize properly |
Wood framing | Soft wood or staining | Rot risk behind finishes | Replace damaged wood; stop source |
If you’re working with reliable handyman services for prep work, ask them to focus on moisture correction first before any cosmetic build-out begins.
Moisture Under the Slab-What Most Remodel Plans Miss
Even without visible leaks, moisture under the basement floor can migrate upward through concrete.
Why it happens:
- concrete is porous
- the ground beneath can remain wetter than indoor air
- the moisture gradient drives upward movement
If your slab is cool and the air is humid, you can also get surface sweating especially in summer.
What “Damp Walls” Usually Signal
Damp basement walls often indicate one (or more) of these:
- exterior soil is staying wet due to poor drainage
- capillary movement is pulling moisture up from the footing
- vapor is diffusing inward due to wet ground and a dry interior
This is why interior coatings can fail over time if bulk water isn’t managed. Coatings may peel, bubble, or shift moisture elsewhere.
Interior Moisture Sources You Can Fix Today
Basements are frequently affected by indoor moisture load. Common sources include:
- humidifiers used too aggressively
- laundry areas with unvented clothes dryers
- moisture from bathrooms (showering)
- daily cooking moisture
- trapped moisture in new builds from moisture in new concrete
Tip: If you recently poured concrete, drying can take months. Rushing finishes is a common cause of early failures.
Step-by-Step System to Fix Basement Moisture Before Remodeling
Here’s a simple order of operations that prevents wasted money:
- Remove or reduce interior moisture sources (laundry venting, bath fans, humidity habits)
- Stop humid outdoor air ventilation when it causes condensation
- Fix gutter/downspout discharge and grading to reduce exterior water load
- Address cracks and window wells only after exterior corrections
- Add drainage/sump solutions if groundwater pressure persists
- Confirm stable humidity and dry surfaces before insulation/drywall
When people ask how to fix moisture in the basement, this sequence matters because doing step 4 before step 3 often fails.
Basement Materials That Fail First (So You Can Protect Them)
Moisture damage isn’t random. It targets vulnerable materials:
- wood components near the foundation
- paper-faced drywall and organic insulation
- carpets and padding
- adhesives under flooring
Moisture exposure can lead to rot in structural wood and damage around floor joints and framing intersections. In advanced cases, you can see corrosion, odor, and repeated staining cycles.
Remodeling Prep Checklist (What to Verify Before You Close Walls)
This is the “ready to remodel” checklist:
- No active seepage after rainfall
- No recurring puddles or damp bands at wall bases
- Stable indoor humidity (aim ~30%–50%)
- No visible growth, no persistent musty smell
- Wall and slab surfaces dry to the touch consistently
- Sump systems sealed and functional if present
At this stage, you’re no longer guessing you’re building on stable conditions.
Call Valley Brothers for Basement Moisture Help Before You Remodel
Remodeling over moisture is one of the fastest ways to waste money because the damage shows up after the walls are closed. If you want your basement to stay dry, comfortable, and durable long-term, call Valley Brothers at 8014509779 for guidance and next-step solutions before you build.
FAQs About Basement Moisture Problems
How do I know if my basement moisture is from leaks or condensation?
If dampness appears mainly in summer or when windows are open, it’s likely condensation; if it worsens after rain, it’s more likely exterior water entry.
What’s the first exterior fix that helps most homes?
Correct roof runoff control (gutters + proper discharge) and grading, because they reduce water pressure at the foundation.
Can I just waterproof paint the inside walls?
It may temporarily reduce symptoms, but it often fails if water pressure and drainage problems are not corrected first.
What humidity level should I target before finishing?
Keep relative humidity in the comfortable, low-risk range and avoid persistent dampness on surfaces before insulating or installing flooring.
When is an interior drain and sump the right move?
If groundwater pressure or recurring seepage persists after exterior drainage and grading improvements, controlled drainage is often necessary.